
Last Updated on 01/20/2025 by Eva Liu
If you’re looking for a way to add length or volume to your hair without causing damage, I-Tip hair extensions might be the perfect solution. These extensions use keratin-based tips and are applied with tiny microbeads—no heat or glue required. This gentle process makes them ideal for sensitive scalps. Plus, they offer natural movement and can be customized to match your hair’s color, thickness, and length. With proper care, I-Tip extensions can last up to six months, giving you a durable and versatile way to transform your look.
Tip: Always consult a professional stylist to ensure the best results with I-Tip extensions.
What Are I-Tip Hair Extensions?
Definition of I-Tip Hair Extensions
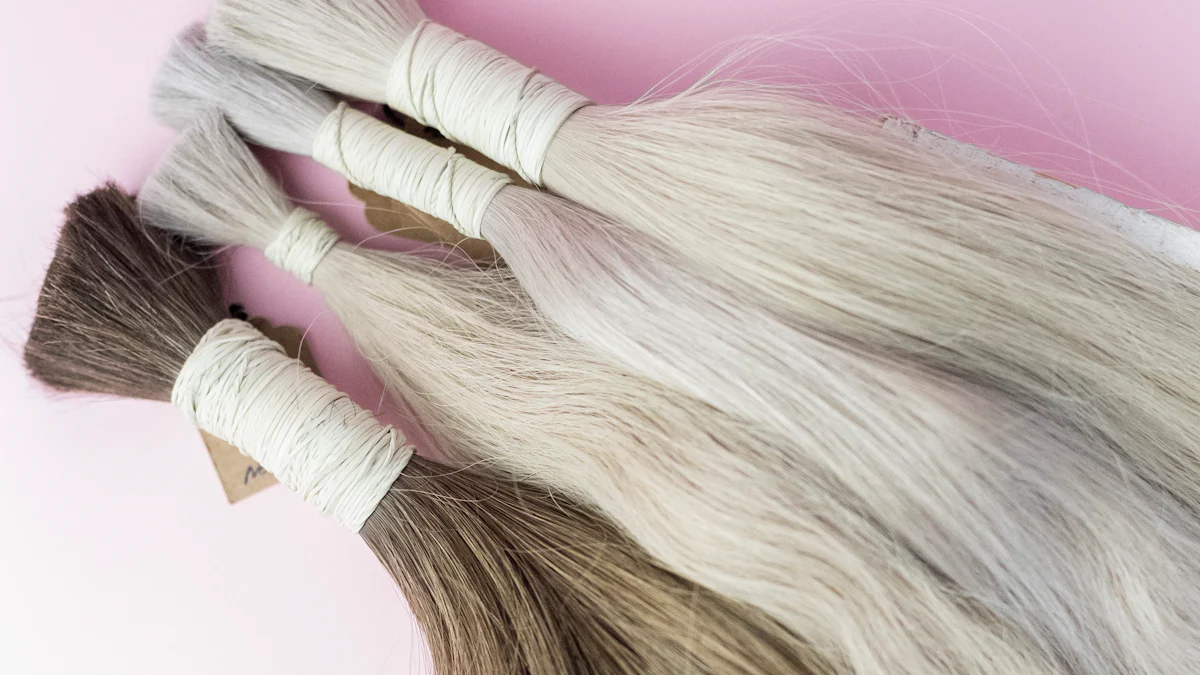
I-tip hair extensions are a type of semi-permanent hair extension designed to blend seamlessly with your natural hair. Each strand has a keratin-based tip shaped like the letter “I,” which is attached to your hair using tiny microbeads. These extensions don’t require heat, glue, or sewing, making them a gentle option for your scalp and hair. The individual strands allow for a natural look and feel, giving you the freedom to style your hair as you like.
The materials used for I-tip extensions include high-quality human or synthetic hair, micro rings or beads for attachment, and tools like a loop tool and pliers for installation. These components work together to create a secure and durable bond that can last for months with proper care.
How I-Tips Differ from Other Extensions
You might wonder how I-tip extensions compare to other popular options like clip-ins or tape-ins. The main difference lies in the attachment method. I-tips use microbeads to secure the extensions, while clip-ins rely on clips, and tape-ins use adhesive strips. This unique method makes I-tips more durable and long-lasting. Unlike clip-ins, which are temporary and easy to remove, I-tips stay in place through daily activities and styling routines. They also offer more flexibility than tape-ins, as they don’t require adhesive that can sometimes damage your hair.
Here’s a quick comparison:
Feature | I-Tip Extensions | Clip-In Extensions | |
|---|---|---|---|
Attachment Method | Bead-like structure clamped to natural hair | Clips attached to the weft | Pre-taped wefts sandwiched around natural hair |
Application Time | Longer due to careful threading and clamping | Quick and can be done at home | Faster than I-tips, larger sections applied |
Reusability | Can be reused if well-maintained | Reusable multiple times | Semi-permanent, can be reapplied |
Comfort | Natural feel, lightweight, individual strand method | Flexible, removable as desired | Comfortable, allows natural hair movement |
Who Should Consider I-Tips?
I-tips are a great choice if you’re looking for a semi-permanent solution to add length or volume to your hair. They work well for people with medium to thick hair, but they can also suit fine hair if applied correctly. If your natural hair is healthy and strong, it can support these extensions without damage.
Here are some scenarios where I-tips might be perfect for you:
You have fine or thin hair and want to add volume.
Your hair is at least 4 inches long, and you’d like to add length.
You’re looking for a long-lasting option that can stay in place for months.
You have enough natural hair to conceal the microbeads for a seamless look.
If you’re unsure whether I-tip extensions are right for you, consult a professional stylist. They can assess your hair type and recommend the best option for your needs.
How Are I-Tip Hair Extensions Applied?
Step-by-Step Application Process
Applying i-tip hair extensions might seem tricky at first, but it’s a straightforward process when broken down into steps. Here’s a step-by-step installation guide to help you understand how it works:
Preparation: Start with clean, product-free hair. Wash and dry your hair thoroughly to ensure the extensions attach securely.
Sectioning the Hair: Use a comb and sectioning clips to divide your hair into small, manageable parts. This makes the process more organized and precise.
Inserting the Microbead: Take a small section of your natural hair and thread it through a silicone bead using a loop tool.
Attaching the I-Tip Extension: Insert the i-tip extension into the bead. Use pliers to clamp the bead securely, locking the extension in place.
Blending and Styling: Once all the extensions are installed, blend them with your natural hair. Style as desired to achieve a seamless look.
Pro Tip: Avoid placing extensions too close to your hairline or in fragile areas. Leave about an inch of space around the edges for a natural appearance.
Tools and Materials for I-Tips
To achieve a flawless application, you’ll need the right tools and materials. Here’s what you’ll want to have on hand:
I-tip hair extensions
Silicone beads or micro rings
Loop tool or hair extension threader
Pliers or extension clamp tool
Pintail comb for sectioning
Sectioning clips
These tools ensure the process is smooth and the extensions stay secure. If you’re working with a stylist, they’ll likely have all these items ready to go.
Time Required for Installation
The time it takes to install i-tips depends on the number of extensions and your stylist’s expertise. On average, the process can take anywhere from 1.5 to 4 hours.
Source | Installation Time |
|---|---|
ULA Hair | |
Coveteur | 1.5 hours |
While it’s a time investment, the results are worth it. You’ll walk away with a stunning, long-lasting hairstyle that feels natural and lightweight.
Benefits of I-Tip Hair Extensions
Non-Damaging Application Method
If you’re worried about damaging your natural hair, i-tips are a game-changer. Unlike other methods that use heat, glue, or chemicals, i-tip hair extensions rely on tiny microbeads to attach the strands. This gentle process minimizes stress on your scalp and hair, making it ideal for thinner hair or anyone with a sensitive scalp. The keratin-based tips and bead application ensure your natural hair stays healthy while giving you the length and volume you’ve always wanted. Plus, the extensions can be reused multiple times with proper care, making them a cost-effective and sustainable choice.
Natural Appearance and Feel
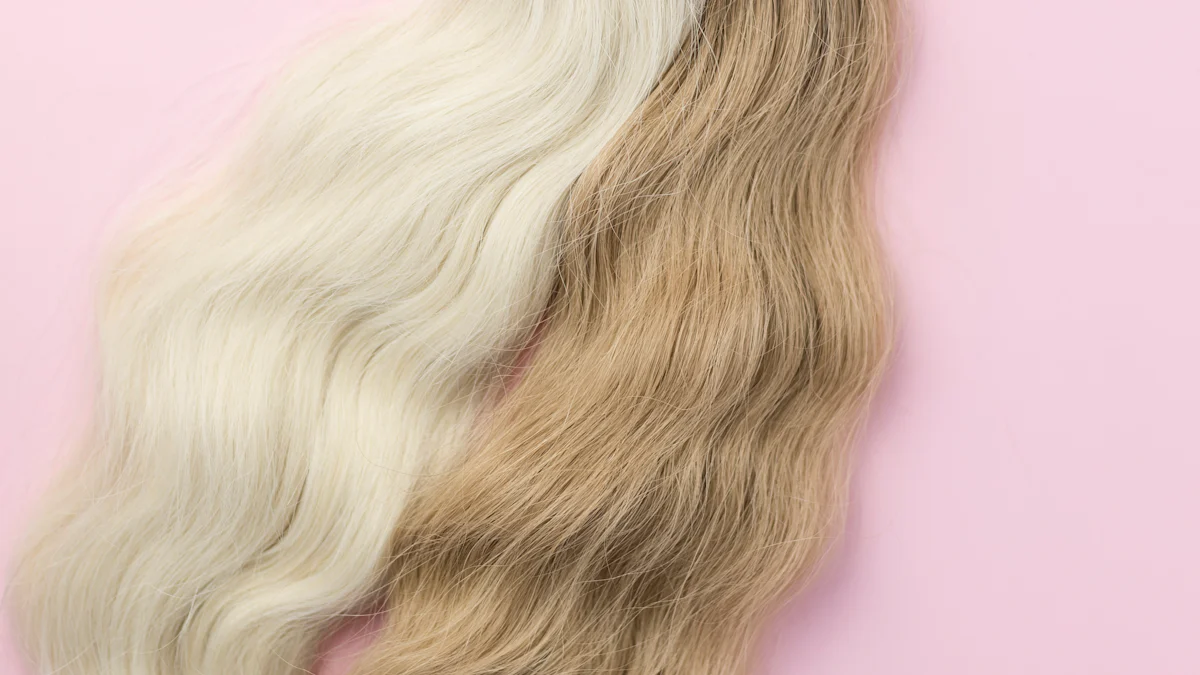
One of the best things about i-tip extensions is how seamlessly they blend with your natural hair. The individual strands mimic the movement of your own hair, creating a natural-looking hair transformation that’s hard to detect. The discreet microbeads and ‘I’ shaped tips make the transition between your hair and the extensions almost invisible. Whether you’re wearing your hair down or styling it into an updo, no one will know you’re wearing extensions. This makes i-tips perfect for anyone looking to enhance their hair without sacrificing a natural appearance.
Styling Versatility
I-tip extensions give you the freedom to style your hair however you like. Want sleek, straight hair for a professional look? No problem. Prefer loose waves or a glamorous ponytail for a night out? You can do that too. These extensions are flexible and durable, allowing you to curl, straighten, or braid them just like your natural hair. They’re also great for special occasions, adding instant volume and length to create a stunning, polished look. Whether you’re going for subtle enhancement or dramatic transformation, i-tips have you covered.
Note: To keep your extensions looking their best, avoid excessive heat styling and always use a heat protectant.
Lightweight and Comfortable Design
When it comes to hair extensions, comfort is key. You don’t want to feel weighed down or constantly aware of something in your hair. That’s where I-Tip extensions shine. Their lightweight design makes them a dream to wear, even for long periods. You’ll hardly notice they’re there, which is perfect if you’re looking for a natural and effortless feel.
The secret lies in how they’re applied. Each extension is attached strand by strand using tiny microbeads. This method keeps the extensions lightweight and evenly distributed across your scalp. Unlike bulky wefts or heavy adhesive-based extensions, I-Tips don’t pull on your natural hair. This reduces strain and helps maintain the health of your strands, especially if your hair is on the thinner side.
Here’s why I-Tip extensions are so comfortable:
The individual strand attachment method ensures a natural feel.
The lightweight microbeads reduce tension on your scalp.
No adhesives are used, so there’s less risk of breakage or damage.
Because of their design, I-Tips are a great option if you want to avoid the discomfort that sometimes comes with other types of extensions. Whether you’re wearing them for a special occasion or as part of your everyday look, you’ll appreciate how easy they are to manage.
Fun Fact: Many people forget they’re wearing I-Tip extensions because of how light and comfortable they feel.
If you’ve been hesitant to try extensions because you’re worried about discomfort, I-Tips might just change your mind. They’re designed to enhance your hair without compromising your comfort. So, go ahead—enjoy the added length and volume without the hassle!
Drawbacks of I-Tip Hair Extensions
Lengthy Application Process
Installing I-tip hair extensions takes time. The process involves multiple steps, including preparing your hair, sectioning it, threading microbeads, attaching the extensions, and blending them with your natural hair. Each step requires precision, which is why the entire application can take anywhere from 1.5 to 4 hours. If you’re someone who doesn’t like sitting in a salon chair for long, this might feel like a big commitment.
The detailed process ensures the extensions look natural and stay secure, but it’s not something you can rush. You’ll also need a professional stylist to handle the installation since it requires specialized tools like a loop tool and pliers. DIY enthusiasts might find this challenging, as achieving a polished look without experience is tough.
Tip: Plan your appointment on a day when you have plenty of free time. Bring a book or podcast to make the wait more enjoyable.
Cost of I-Tips Hair Extensions
I-tip extensions aren’t cheap. The installation alone typically costs between $300 and $450, depending on your stylist’s pricing. This doesn’t include the cost of the extensions themselves, which can vary based on the quality and length you choose. While they’re a long-term investment, the upfront expense can feel steep.
If you’re on a tight budget, this might not be the best option. However, the durability and reusability of i-tips can make them worth the price over time. Keep in mind that the cost also reflects the expertise of your stylist, which is crucial for a flawless application.
Maintenance and Upkeep
Maintaining i-tip extensions requires effort. You’ll need to visit your stylist every 6-8 weeks to check the condition of the extensions and reattach any that have loosened. These appointments ensure the extensions stay secure and blend seamlessly as your natural hair grows.
At home, you’ll need to handle your extensions gently. Use sulfate-free shampoos and conditioners to prevent dryness, and avoid excessive heat styling. When you do use heat tools, always apply a heat protectant spray. Neglecting these steps can shorten the lifespan of your extensions and lead to damage.
Pro Tip: Regular maintenance not only keeps your extensions looking great but also protects your natural hair from unnecessary stress.
While i-tip extensions offer many benefits, their upkeep can feel like a lot of work. If you’re someone who prefers low-maintenance hair solutions, this might be something to consider before committing.
Suitability for Different Hair Types
I-Tip hair extensions can work for many hair types, but they aren’t a one-size-fits-all solution. Your natural hair’s texture, thickness, and length play a big role in how well these extensions will blend and stay secure. Let’s break it down so you can see if I-Tips are right for you.
If you have medium to thick hair, you’re in luck! I-Tip extensions perform best on these hair types. The microbeads used for attachment distribute the weight evenly, reducing strain on your natural strands. This makes them a great choice if you want to add length or volume without worrying about damage. Plus, the beads stay hidden easily under thicker hair, giving you a seamless look.
For those with fine hair, things get a bit trickier. The beads might be more visible, especially if your hair is very thin. But don’t worry—this doesn’t mean I-Tips are off the table for you. A skilled stylist can assess your hair and adjust the placement of the extensions to ensure they look natural. They might use smaller beads or fewer extensions to avoid putting too much stress on your hair. If your hair is fragile, it’s always a good idea to consult a professional before committing.
What about curly or textured hair? I-Tips can work beautifully here too! The individual strand method allows the extensions to blend with your natural curl pattern. You’ll want to choose extensions that match your curl type for the best results. A stylist experienced with textured hair can help you achieve a flawless finish.
One thing to keep in mind: your hair needs to be long enough to cover the beads. If your hair is shorter than four inches, the beads might peek through, making the extensions less discreet.
Pro Tip: Always talk to a stylist before getting I-Tips. They’ll evaluate your hair type and recommend the best approach for a natural, comfortable fit.
No matter your hair type, I-Tip extensions can transform your look when applied correctly. Whether you’re rocking fine, thick, or curly hair, the key is finding a stylist who knows how to make them work for you.
Cost, Longevity, and Maintenance of I-Tip Hair Extensions
Average Cost of I-Tip Extensions
When it comes to i-tip hair extensions, the cost can vary depending on several factors. On average, you can expect to pay between $300 and $450 for the installation alone. The extensions themselves are an additional expense, with prices depending on the quality, length, and type of hair you choose. High-quality human hair extensions tend to cost more but offer a more natural look and longer lifespan.
If you’re wondering, “How many i-tip hair extensions do I need?” the answer depends on your desired look and hair type. For a full head, most people need between 100 and 150 strands. If you’re only adding volume, fewer strands may suffice, which can help reduce the overall cost.
While the upfront expense might seem high, remember that i-tip extensions are reusable. With proper care and regular maintenance, they can last for years, making them a worthwhile investment for many.
How Long I-Tips Last
So, how long do i-tip hair extensions last? The lifespan of your extensions depends on several factors, including their quality, your hair care routine, and how often you visit your stylist for maintenance. Typically, i-tips can last between 10 to 12 weeks before needing adjustment. However, with proper care, the extensions themselves can last up to 1 to 3 years.
Here’s what influences their longevity:
The quality of the extensions
Your hair care routine
The rate of your natural hair growth
By following a consistent care routine and scheduling maintenance appointments, you can maximize the lifespan of your i-tip extensions.
Maintenance Tips for I-Tips
Maintaining i-tip extensions requires some effort, but it’s worth it to keep them looking flawless. Here are some tips to help you care for your extensions:
Use sulfate-free shampoos and conditioners to prevent dryness and breakage.
Avoid applying conditioner near the attachment points to prevent slippage.
Brush gently with a soft bristle or detangling brush, and never tug on the extensions.
Secure your hair in a loose braid or ponytail before bed to prevent tangling.
Limit washing to 2-3 times per week and air dry whenever possible.
Avoid chlorinated or salty water, as it can damage the extensions.
Regular maintenance appointments are also essential. During these visits, your stylist will reposition the beads to accommodate hair growth and replace any that have loosened. This keeps your extensions secure and ensures they blend seamlessly with your natural hair.
By following these steps, you’ll not only extend the life of your i-tip extensions but also protect your natural hair from unnecessary stress.
Pro Tip: Always seek professional help when removing your extensions to avoid damaging your natural hair.
When to Remove or Adjust I-Tips
Knowing when to remove or adjust your I-Tip extensions is key to keeping your hair healthy and your style flawless. Over time, your natural hair grows, and the microbeads securing the extensions shift further away from your scalp. This can make the extensions less secure and more noticeable. So, how do you know it’s time for a touch-up or removal? Let’s break it down.
Signs It’s Time for an Adjustment
You don’t need to guess when your I-Tips need attention. Here are some clear signs:
Visible Beads: If the microbeads start peeking through your hair, it’s time for a repositioning.
Loose Extensions: Extensions that feel loose or slip down your hair strands need to be tightened.
Tangled Roots: Hair growing around the beads can create tangles or matting. This is a sign you need a maintenance appointment.
Discomfort: If the extensions pull or feel heavy, they may have shifted and need adjustment.
Pro Tip: Schedule a maintenance appointment every 6-8 weeks to avoid these issues and keep your extensions looking seamless.
When to Remove I-Tips
Sometimes, it’s better to remove your extensions altogether. Here’s when you should consider it:
Excessive Growth: If your natural hair has grown significantly, the beads may sit too far from your scalp.
Damage or Breakage: If you notice your natural hair weakening, it’s time to give it a break.
End of Lifespan: Extensions that have reached their limit (usually after 10-12 weeks) should be removed or replaced.
Always have a professional handle the removal process. Trying to remove I-Tips yourself can damage your natural hair or the extensions.
Reminder: Regular adjustments and timely removal not only keep your extensions looking great but also protect your natural hair from unnecessary stress.
By staying on top of maintenance, you’ll enjoy beautiful, long-lasting results without compromising your hair’s health.
I-tip hair extensions offer a safe and versatile way to enhance your hair’s length, volume, and style. With their heatless and glueless application, they protect your natural hair while delivering a natural-looking hair transformation. You’ll love their flexibility, whether you’re going for everyday styles or something more elaborate. Plus, they’re lightweight and comfortable, making them a great option for long-term wear.
Of course, i-tips require time, money, and regular upkeep. But for many, the benefits—like durability, customization, and a seamless look—far outweigh the drawbacks. If you’re considering i-tip extensions, consult a professional stylist. They’ll assess your hair’s strength, texture, and color to ensure the extensions blend perfectly and stay secure.
Note: Your natural hair needs to be strong enough to support the extensions. A stylist can help you decide if i-tips are the right choice for your hair type and lifestyle.
FAQ
How do I wash my hair with I-Tip extensions?
Wash your hair gently using sulfate-free shampoo and conditioner. Focus on your scalp and avoid scrubbing the beads. Rinse thoroughly and let your hair air dry or use a low-heat setting. Always brush your hair before washing to prevent tangles.
Tip: Use a wide-tooth comb to detangle wet hair.
Can I swim with I-Tip extensions?
Yes, but take precautions. Wear a swim cap or braid your hair to minimize tangling. Rinse your hair immediately after swimming to remove chlorine or saltwater. Use a leave-in conditioner to keep your extensions hydrated and protected.
Note: Avoid swimming frequently to extend the life of your extensions.
Are I-Tip extensions reusable?
Absolutely! With proper care, you can reuse I-Tip extensions multiple times. After removal, clean and store them properly. Your stylist can reinstall them during your next appointment, saving you money and maintaining your look.
Pro Tip: Invest in high-quality extensions for better reusability.
Can I style my I-Tip extensions with heat tools?
Yes, you can curl, straighten, or blow-dry your extensions. Use a heat protectant spray to prevent damage. Keep the heat setting low to medium to maintain the quality of the extensions.
Reminder: Avoid applying heat directly to the microbeads.
How do I sleep with I-Tip extensions?
Tie your hair in a loose braid or ponytail before bed. Use a silk or satin pillowcase to reduce friction and prevent tangling. This keeps your extensions smooth and extends their lifespan.
Fun Fact: Silk pillowcases are great for your natural hair too! 💤


